This blog post explains step by step how to install WordPress on Bluehost. This is a free complete guide that helps you to install your WordPress website in Bluehost.
The blog post does not cover the pros and cons of the Bluehost.
Now you are thinking about why we are not covering the review of Bluehost; the reason is that If you’re reading this article, then it is likely that you are already familiar with the Bluehost and only want to know how to install WordPress in Bluehost.
This is a complete guide also for beginners. We don’t know at which stage you are; means already signup for Bluehost or only looking for installation. So here’s what we’ll cover – you can click to jump straight to a specific section:

Sign up with Bluehost:
Click to go on Bluehost.
Now follow the below steps to complete the signup process.
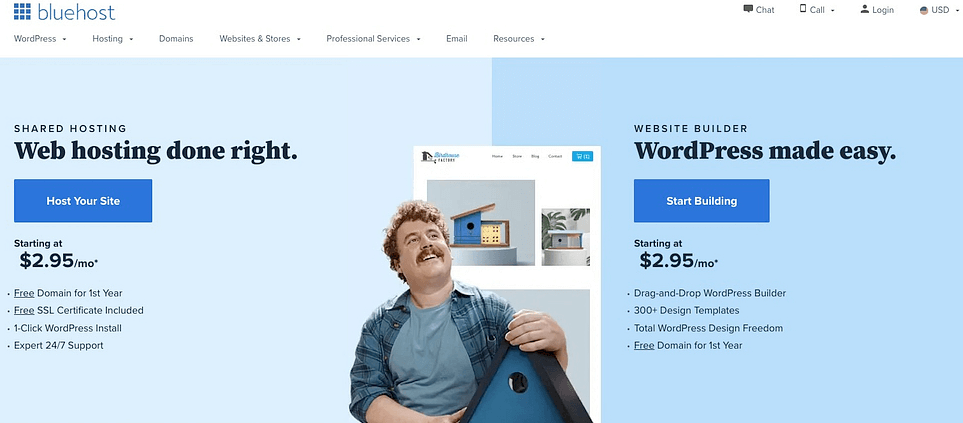
1. Select the hosting plan:
Bluehost offers a range of hosting options; don’t be confused with these options. You should select the plans as per your requirement but if you are a beginner or not sure which plan is best for you, then we suggest you should go with shared hosting plans.
The following are some hosting plans offered by Bluehost.
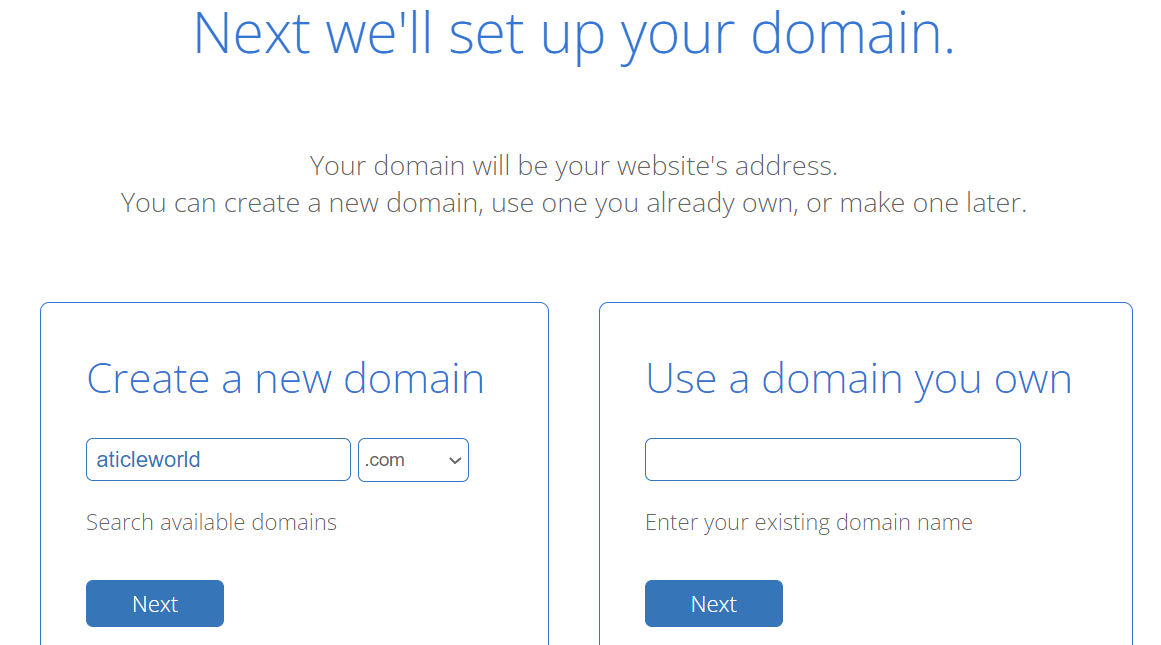
2. Use or Create a new domain name:
Now after choosing the plans a new page will open. This page is ask you for a domain name. If you have already a domain name you can use it.
But it is my recommendation that if you do not have an existing domain name, they don’t buy it separately. Why I am saying this is because Bluehost offers the free domain name for the first year for each new hosting plan.
Right now I don’t have an existing domain name, so I am going to create a new domain.
Note: You will go to the next page only when the domain name is available for you.
3. Enter Bluehost account information:
First I want to say congratulation because you have created your dream domain name.
Now you need to fill the required fields. You must cross-check the email address because your receipt will be sent to this address.

4. Select Bluehost hosting plan:
After completing the personal information on the same page you will find the package Information.
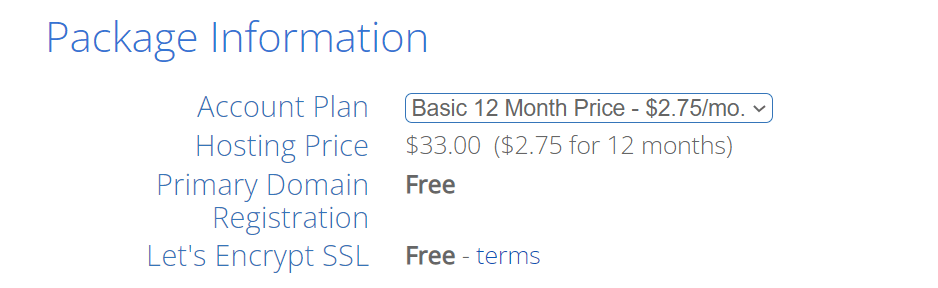
When you scroll below, you will see that Bluehost offers some other add-ons pack extras packages.
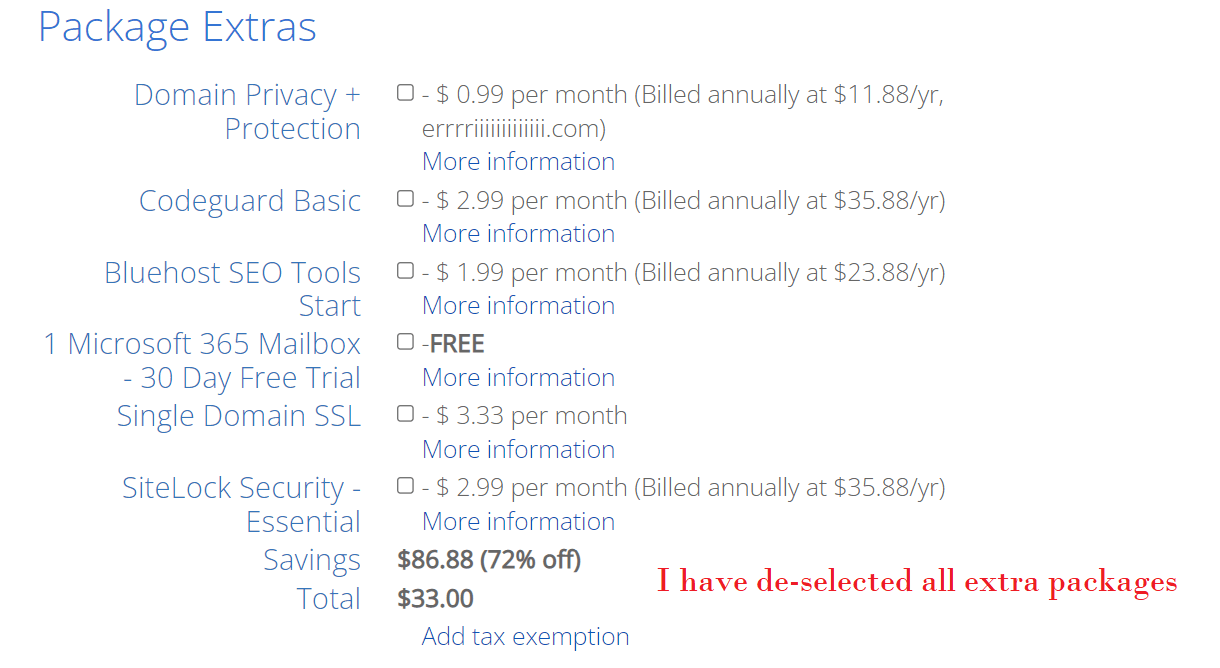
You must check the extra packages carefully because by default Bluehost adds several premium packages like Domain Privacy + Protection, Codeguard, and SiteLock Security.
If you are not sure about these extra add-ons, then we would recommend de-selecting all of these add-ons. You can also add them later if you want.
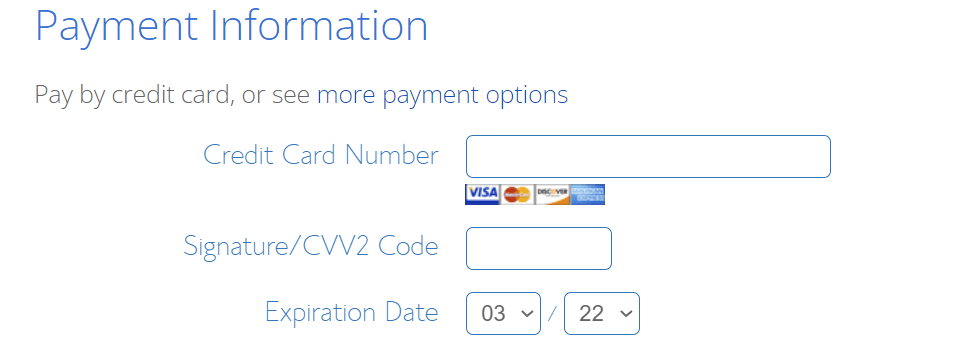
5. Enter your payment details:
This step is the last step for signup Bluehost hosting. You need to enter your payment details and confirm the order.
Big Congratulation on your new Blog or Website.
Before ending the signup process I want to remind if you have not read the cancellation of services, Bluehost provides a 30-day money-back guarantee. So if you are not happy with your plan or the hosting service after purchase, then you can ask for a refund within 30 days.
Install WordPress on Bluehost:
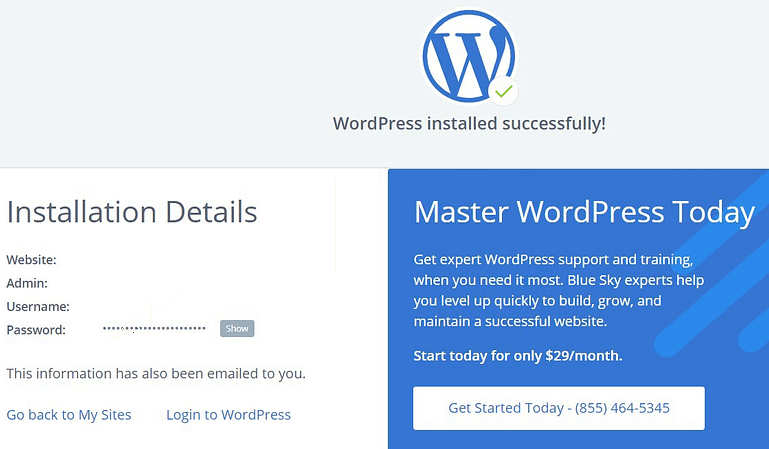
After purchasing the hosting plan, the next step is to install WordPress on Bluehost. The Bluehost offers a single-click installation process.
We have divided the WordPress installation into a few steps.
So let’s get started.
1. Log in to Bluehost:
Log in to your new Bluehost account.
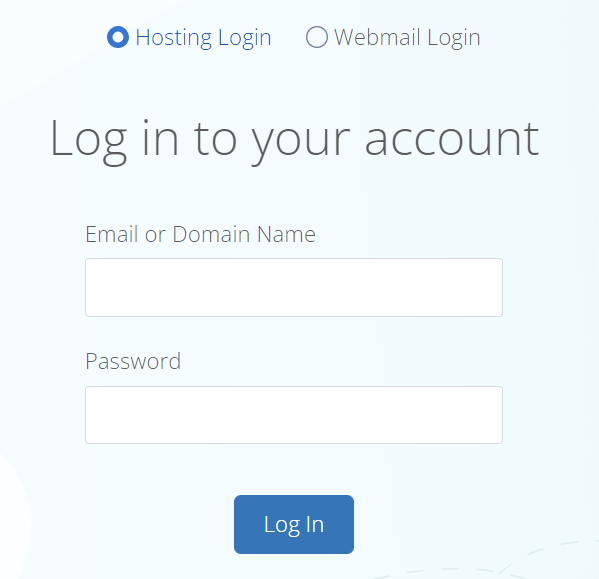
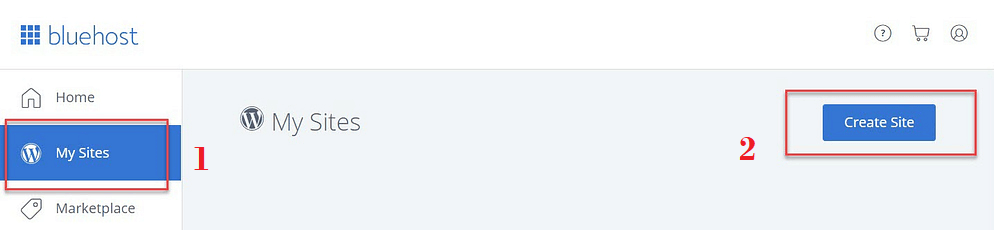
After successful login in Bluehost, you need to follow the below steps.
- Go to the My Sites tab.
- Click the Create Site button in the top-right corner.
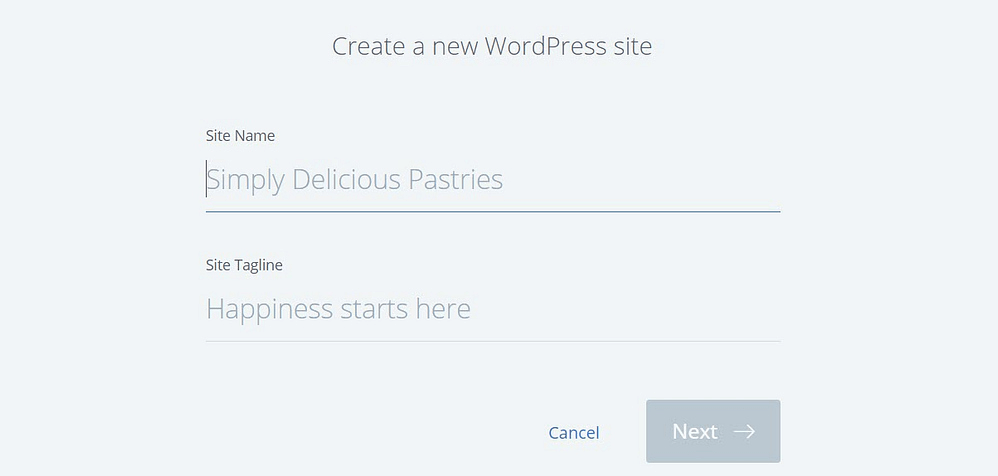
2. Enter your website info:
After hitting the create site button the next page will open where you need to enter some basic information like Site Name and Tagline. If you want you can change later.
3. Choose your domain name:
Now you can select your domain name for your newly Bluehost account. But if you have multiple domains then you use the domain drop-down to select the domain name that you chose when you created your Bluehost account.
Bluehost recommended some plugins if you want you can install them.
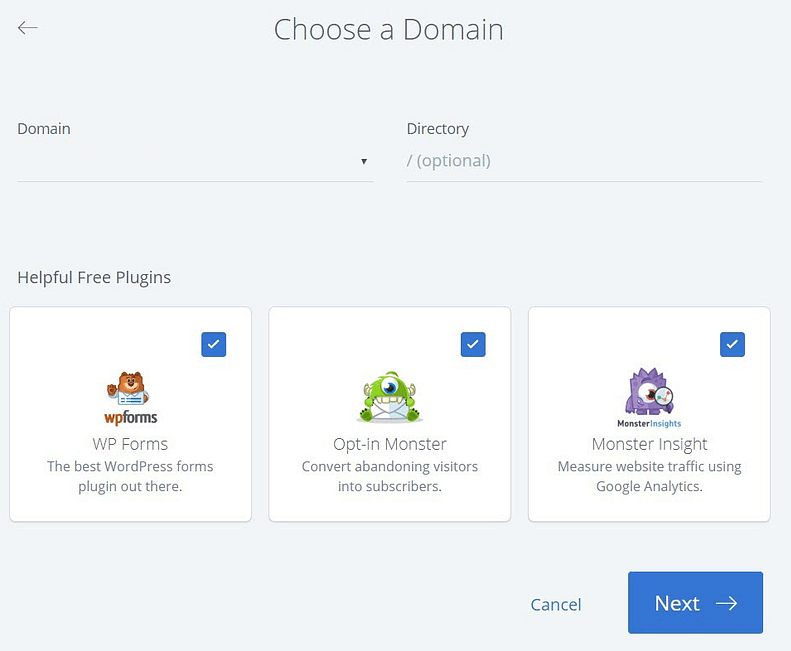
Now press the Next button, Bluehost will automatically install WordPress for you.